
Use crop to choose what stays in the frame, resize to change pixel dimensions, and Fit within to keep the whole image inside maximum bounds. In this tool, Fit does not add borders or a designed background. If you need a full portrait placed on a square canvas, prepare that layout in an editor first.
The distinction matters for avatars, social posts, covers and text slides. A file can have the requested pixel dimensions while the wrong part of the photograph has been removed.
Crop changes the composition
A crop selects a region and leaves the rest outside the output. A centered square crop of a portrait can remove some area above and below. A portrait crop of a wide scene can remove substantial content at the sides.
Move the crop intentionally. Check faces, hands, product edges, captions and any corner labels. The subject you care about is not always in the middle.
Cropping is not background removal. It cannot identify a person and rebuild the scene around them. It also cannot recover something that is outside the source image.
Resize changes the pixel dimensions
Resizing creates a different pixel grid. Reducing dimensions combines source detail into fewer output pixels. Enlarging creates more pixels from the information already present.
A larger output is not evidence that missing focus or texture has been recovered. A tiny face enlarged from a group photo remains limited by the source crop.
File size is a separate measurement. A resized image can still need another format or quality decision to fit a byte cap. Read the JPEG quality guide before assuming one slider value produces a fixed number of KB.
Fit within preserves the whole image
The Fit tool uses a bounding box. It preserves the source shape and reduces it to fit inside those limits without cutting away edges.
That means one dimension may be smaller than the box. A portrait image fitted within square bounds remains portrait; it does not become a square file with automatic bars.
The difference is useful. Fit is suitable when you need a maximum width and height but want all of the source. Exact crop is suitable when the output must fill a chosen shape and you accept removing some content.
An actual crop and fit comparison
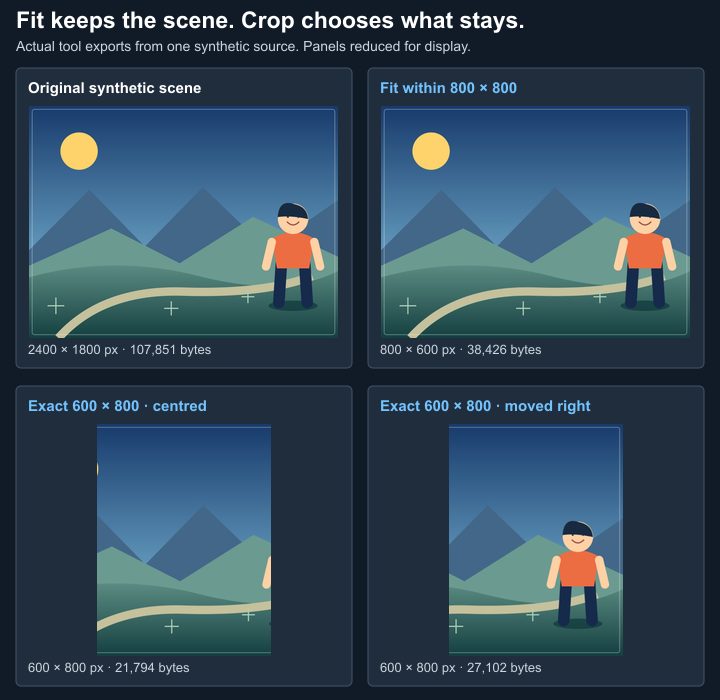
We created a 2400×1800 synthetic scene with a person near the right edge, then downloaded three fresh JPEG exports from the browser tool. Every export used quality 90, sharpening off and no file-size cap. The Fit setting and the crop position were changed through the same controls available on this page's linked tools.
| File and settings | Actual output | Exact bytes | Download |
|---|---|---|---|
| Original synthetic PNG | 2400×1800 | 107,851 | Source PNG |
| Fit within 800×800 | 800×600 | 38,426 | Whole-scene JPEG |
| Exact 600×800, crop centered | 600×800 | 21,794 | Centered crop JPEG |
| Exact 600×800, crop moved right | 600×800 | 27,102 | Repositioned crop JPEG |
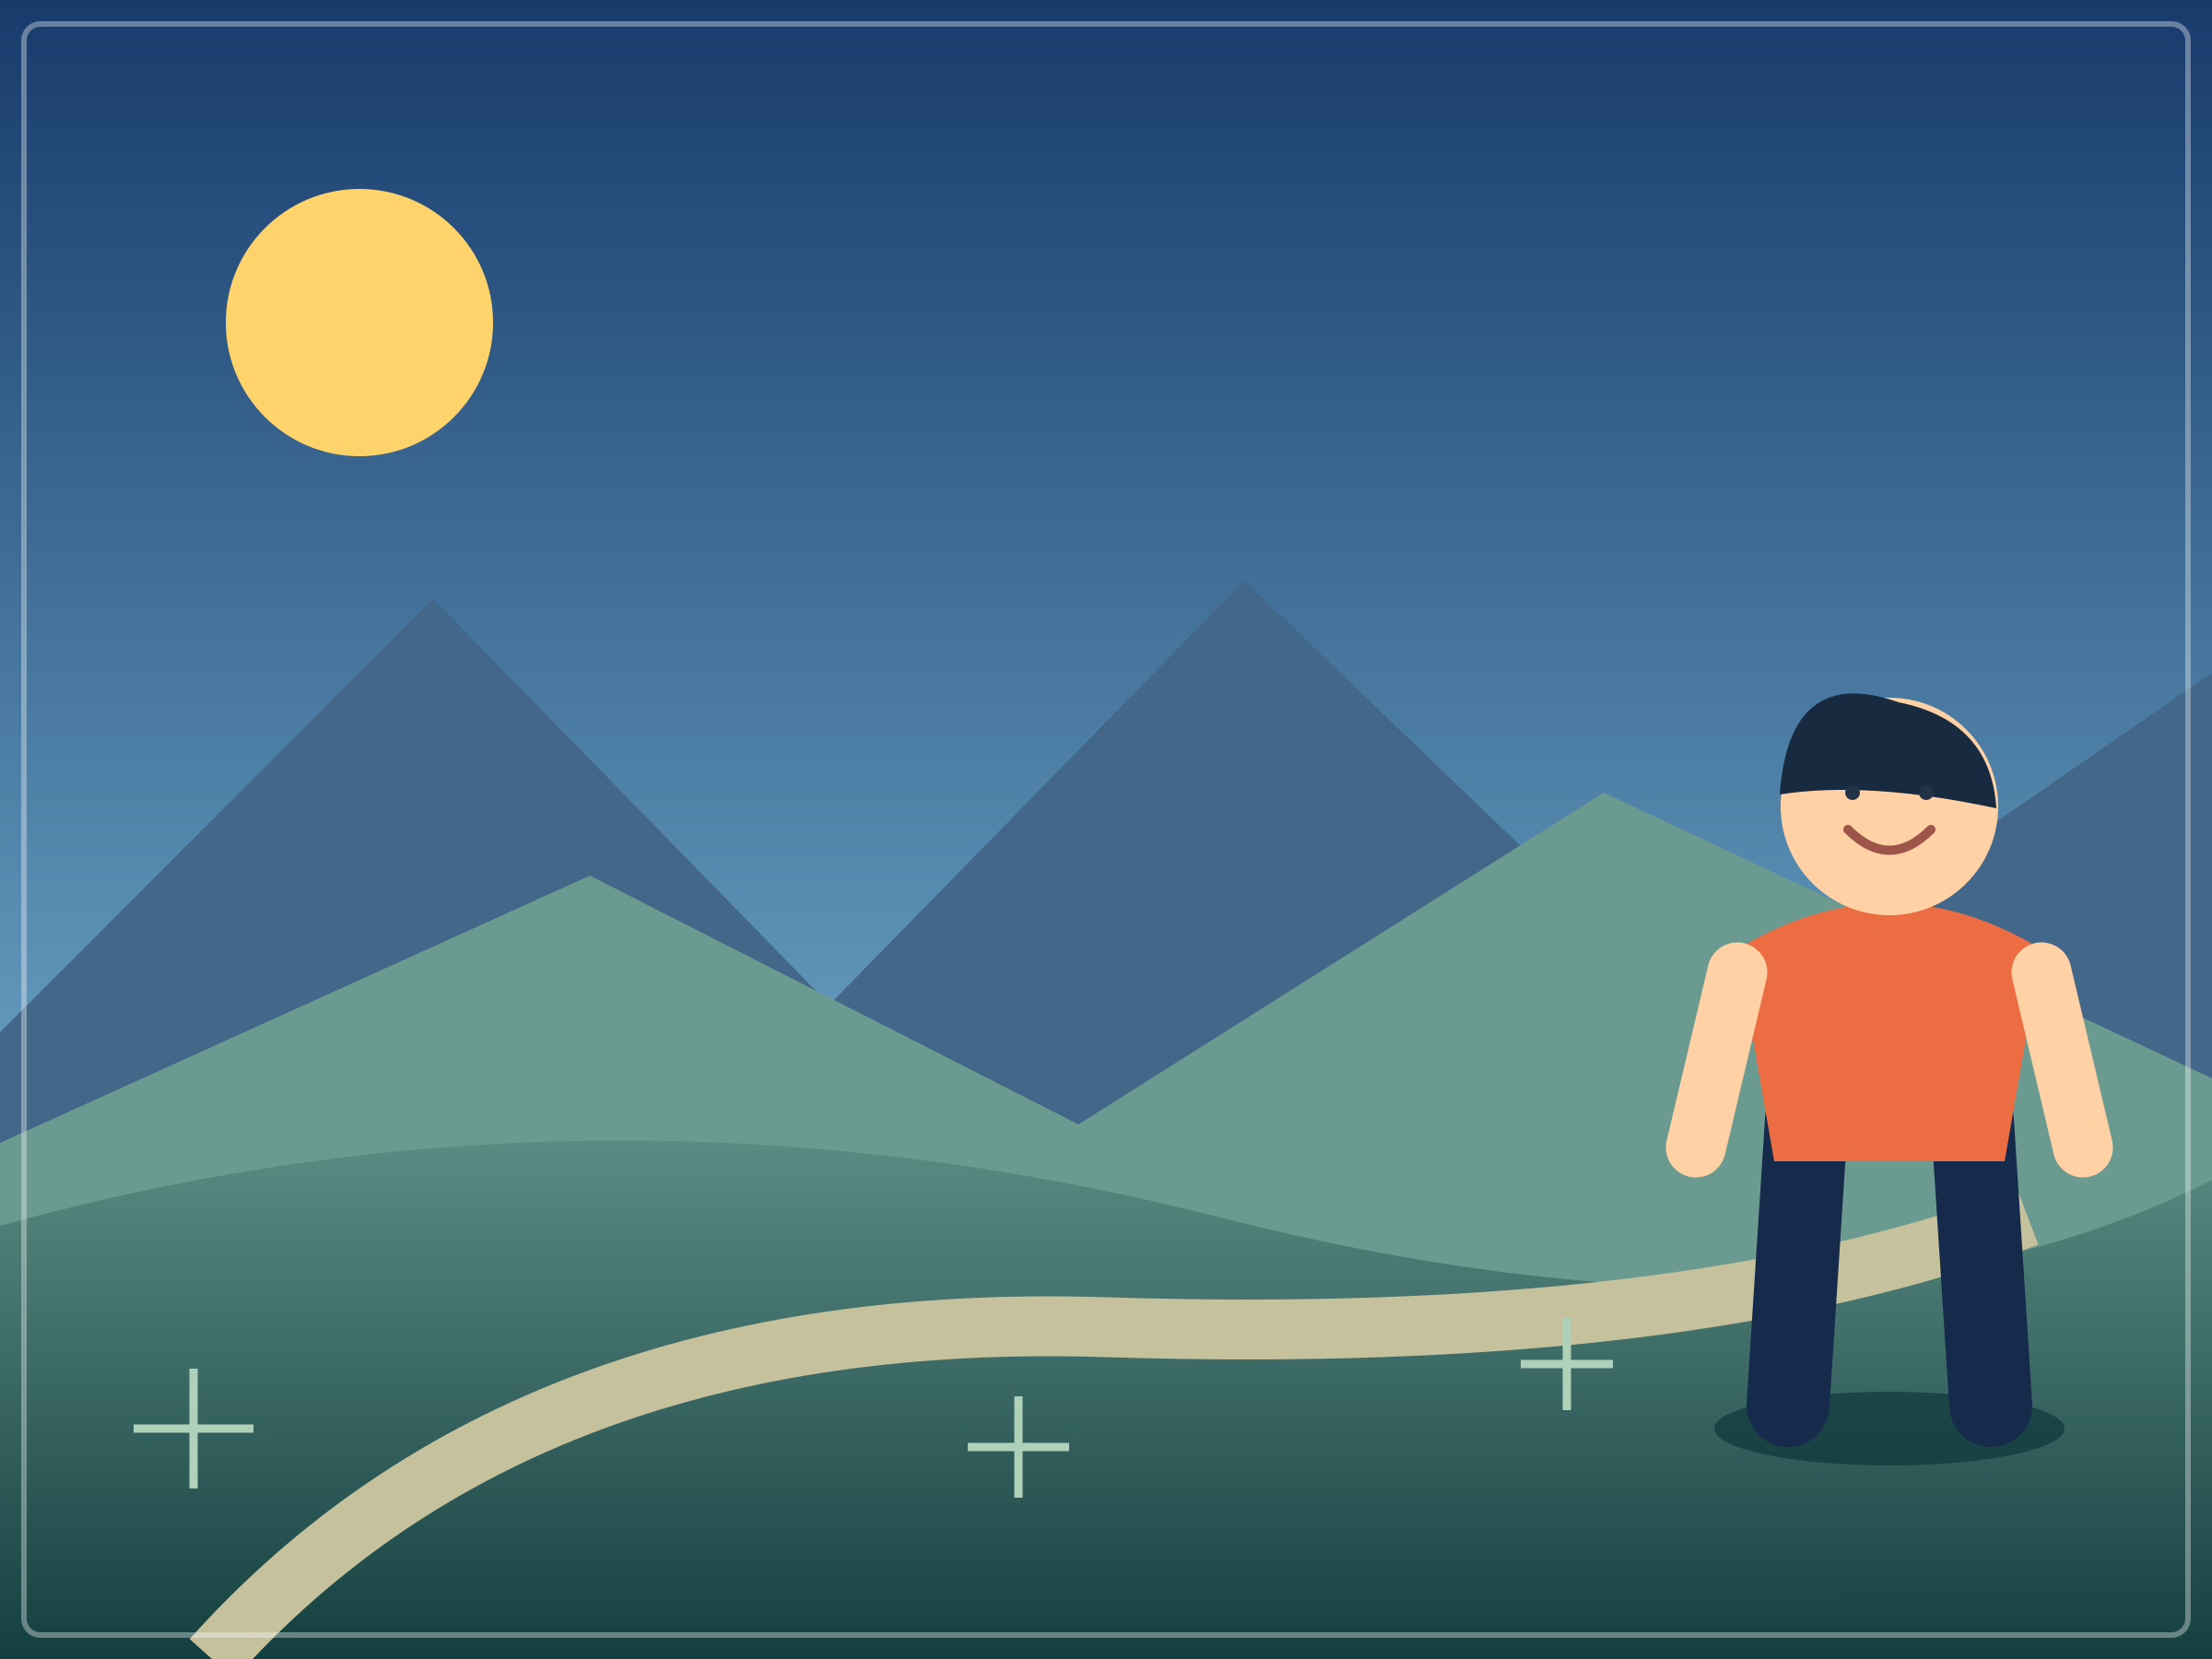
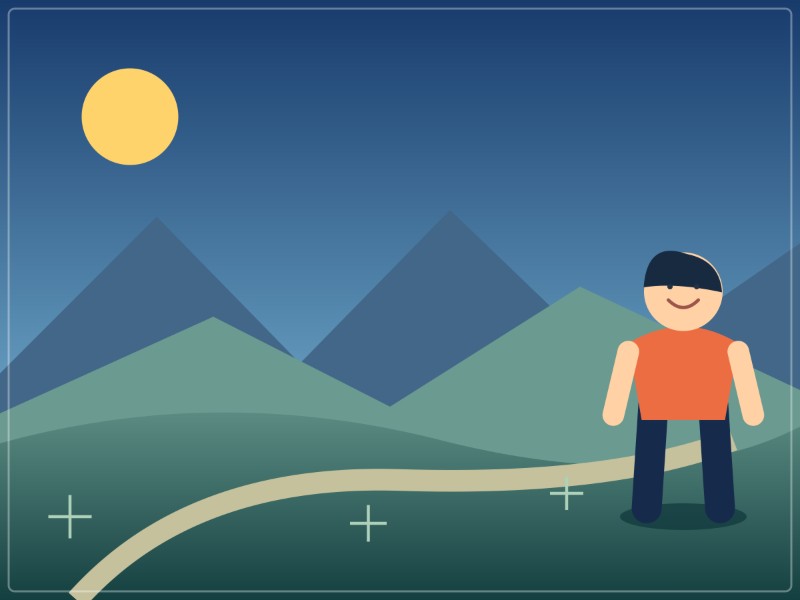
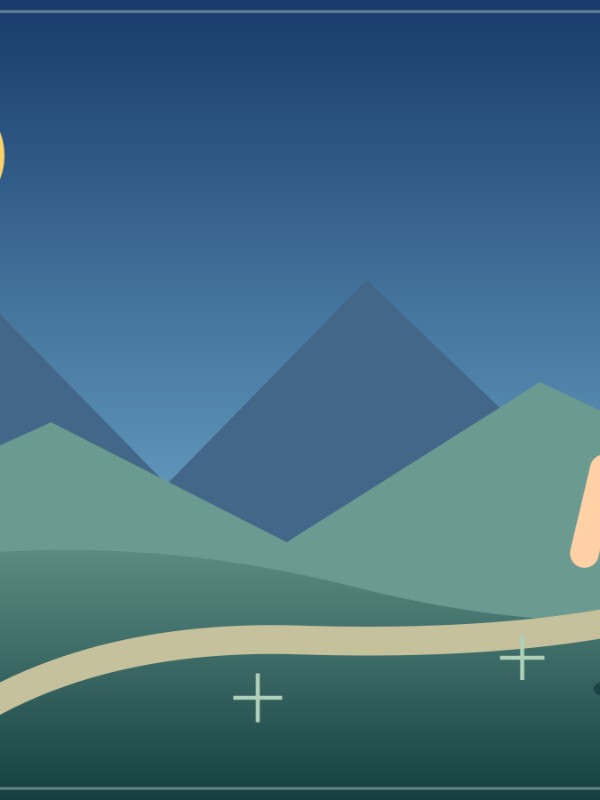
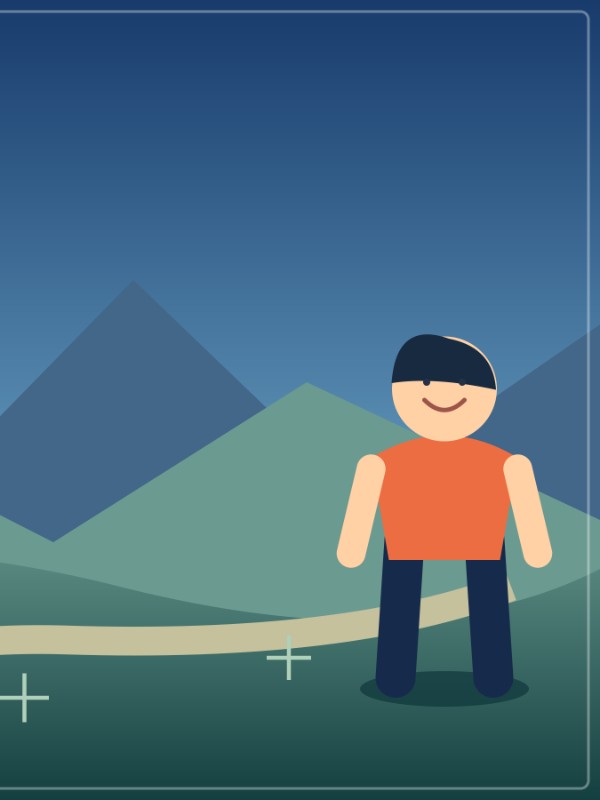
Fit keeps the source's 4:3 shape, so an 800×800 bounding box produces 800×600, not a square with added borders. The centered portrait crop removes most of the person. Moving the Crop position slider to the right retains that subject while removing more of the left side. Both portrait files have the same 600×800 dimensions; their composition and byte counts differ.
The example manifest records the actual downloads, settings, browser version and file hashes. These examples were exported in Chromium 151.0.7922.34. The small lossless WebP figure displays reduced copies for comparing composition; download the full files to inspect pixels. The source is an original illustration, not a camera photograph, and these bounds are export choices rather than social-platform requirements or delivery measurements.
Decide what the destination actually needs
An avatar may show a circle inside the uploaded square. A cover may use a wide crop. A profile thumbnail may show a different region from the opened post.
Check the current destination preview. Do not assume a perfect local square guarantees identical framing in every service. The grid guide gives conditional examples for a 3:4 preview.
If the whole scene must remain visible, use a placement that accepts its shape or prepare a designed background separately. Do not force an exact crop and expect the removed edges to reappear after posting.
Prepare borders in an editor when needed
A layout editor can place the original photo on a larger canvas with a deliberate background. Choose its color and spacing, then inspect the composition before exporting.
This is different from simply fitting the image within maximum dimensions. The designed canvas itself becomes part of the output image.
Do not use an opaque JPEG export when you need an existing transparent background to remain transparent. Only PNG export in this tool preserves that source transparency. JPEG and WebP output put transparent areas on white.
Inspect one export before batching
- Decide whether you need exact dimensions or only maximum bounds.
- Choose Keep, Fit within or Exact size according to that requirement.
- Load the original and inspect every edge.
- Move the crop if you chose an exact frame.
- Download and confirm the actual dimensions and composition.
- Check the receiving app's preview before applying the workflow to a set.
Batch processing shares settings. A square crop that suits one centered portrait may cut another person's face near the edge. Inspect each image rather than assuming a successful first export validates the whole folder.
The multiple-size workflow explains how to organize separate output groups without pretending each file in one batch can have an unrelated preset.
Watch text and already-small sources
An exact crop can remove a design's footer or slide number. Fit may retain it but make the whole design too small to read. That is a layout decision, not something stronger JPEG quality always fixes.
For a screenshot, crop the relevant section before choosing a social shape. A whole page squeezed into a small card can be unreadable even when every letter is technically present.
Check text and screenshot preparation for that case. If the content needs redesigning, use the original editor rather than repeatedly shrinking an unsuitable composition.
What this cannot do
For a listing, use the product-photo checklist to keep the item, its labels and the crop consistent across views.
The tool does not stretch content to recreate missing information, generate new scene edges, add automatic padding or choose a designer's background. A later platform can also present a different preview crop.
Keep the source so the next placement can use a fresh region. Do not overwrite the only wide original with a square delivery copy.
Checklist and sources
- Decide what must stay visible.
- Distinguish exact dimensions from maximum bounds.
- Use Fit for preserving the whole source within bounds.
- Use Exact crop when filling the chosen shape matters.
- Prepare designed borders in a layout editor.
- Check dimensions and the actual destination preview.
Source review: 20 October 2026. References: Adobe image resizing and resampling, image-size and resampling concepts, and the current tool's local crop/fit behavior. The numerical table is a stated geometric example, not a platform benchmark.